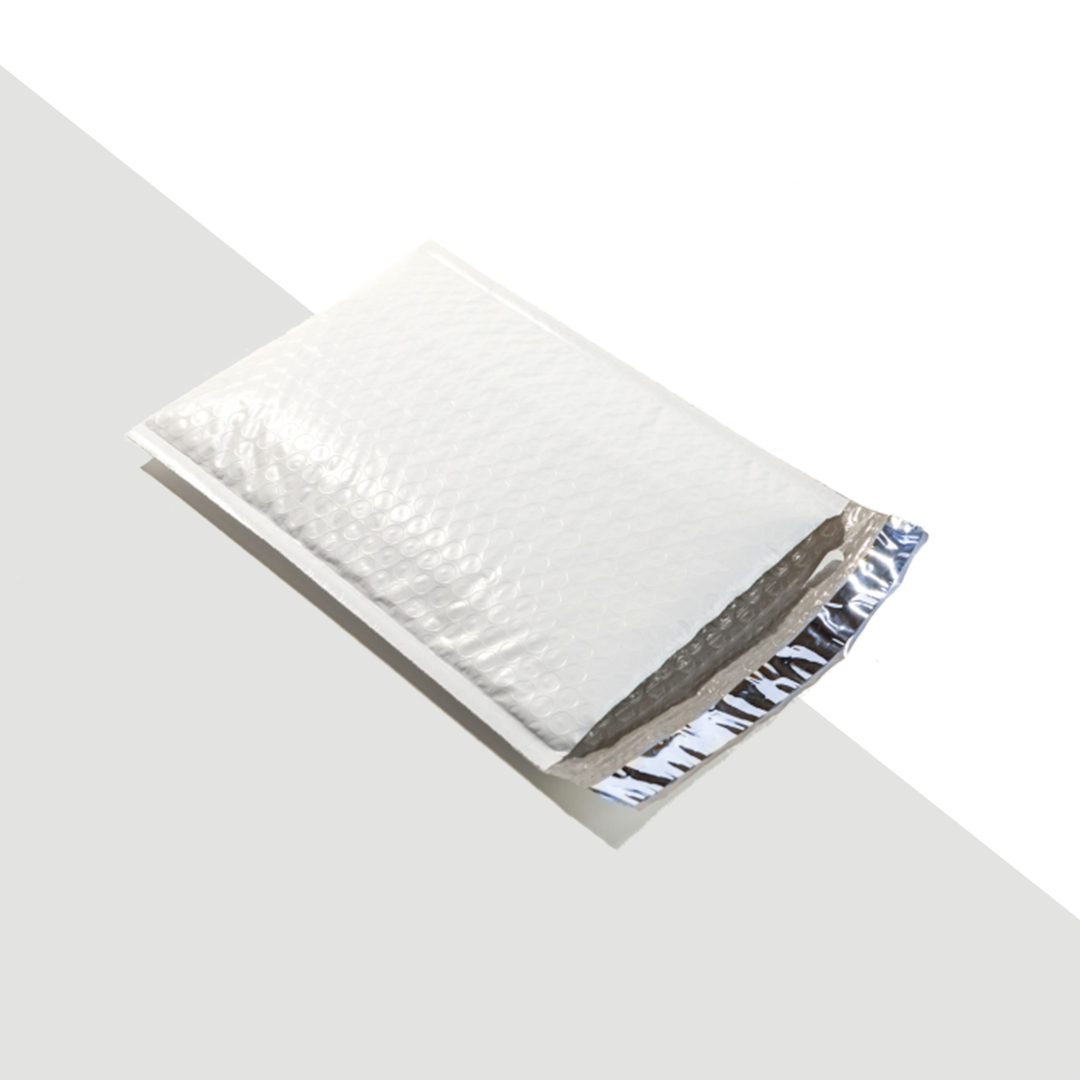
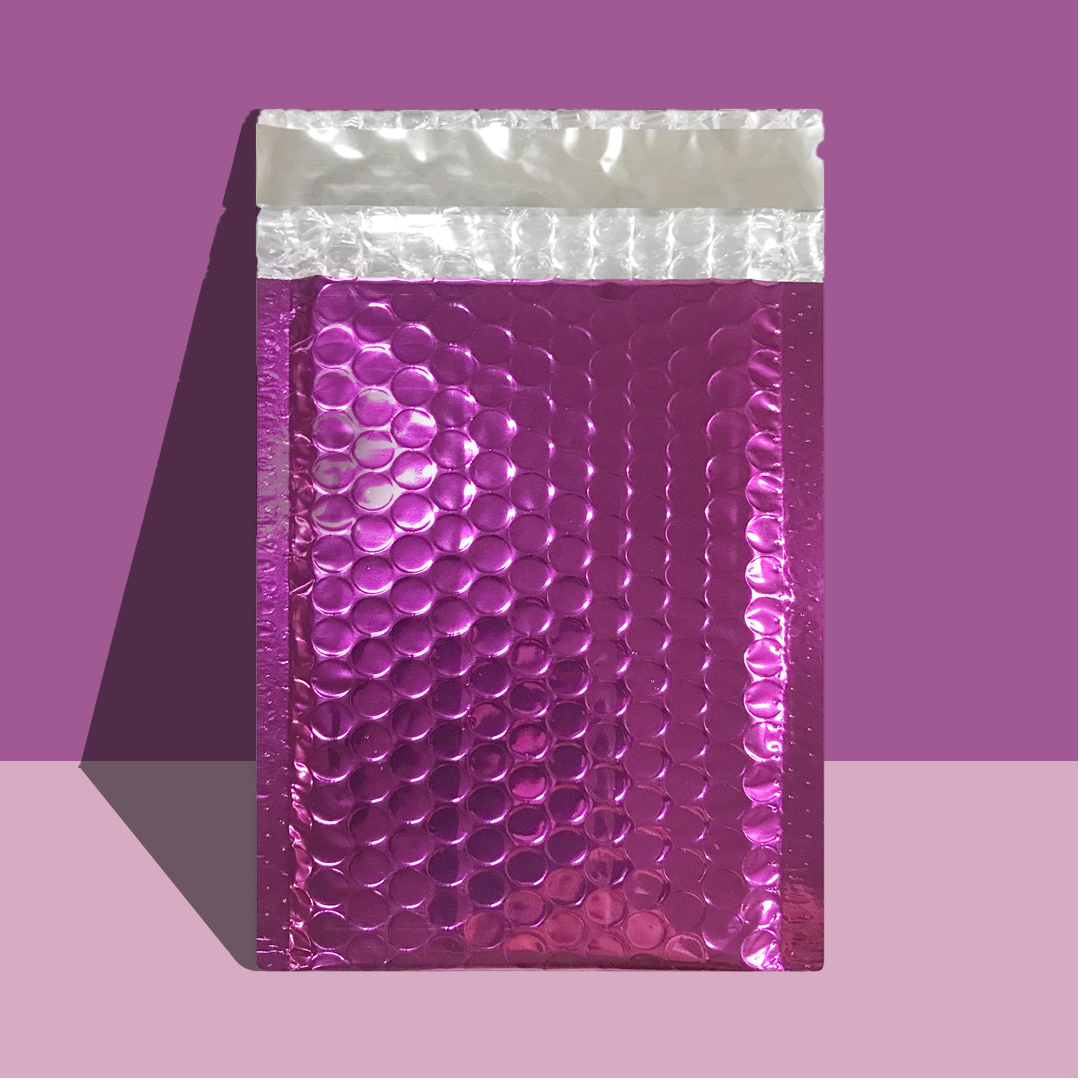
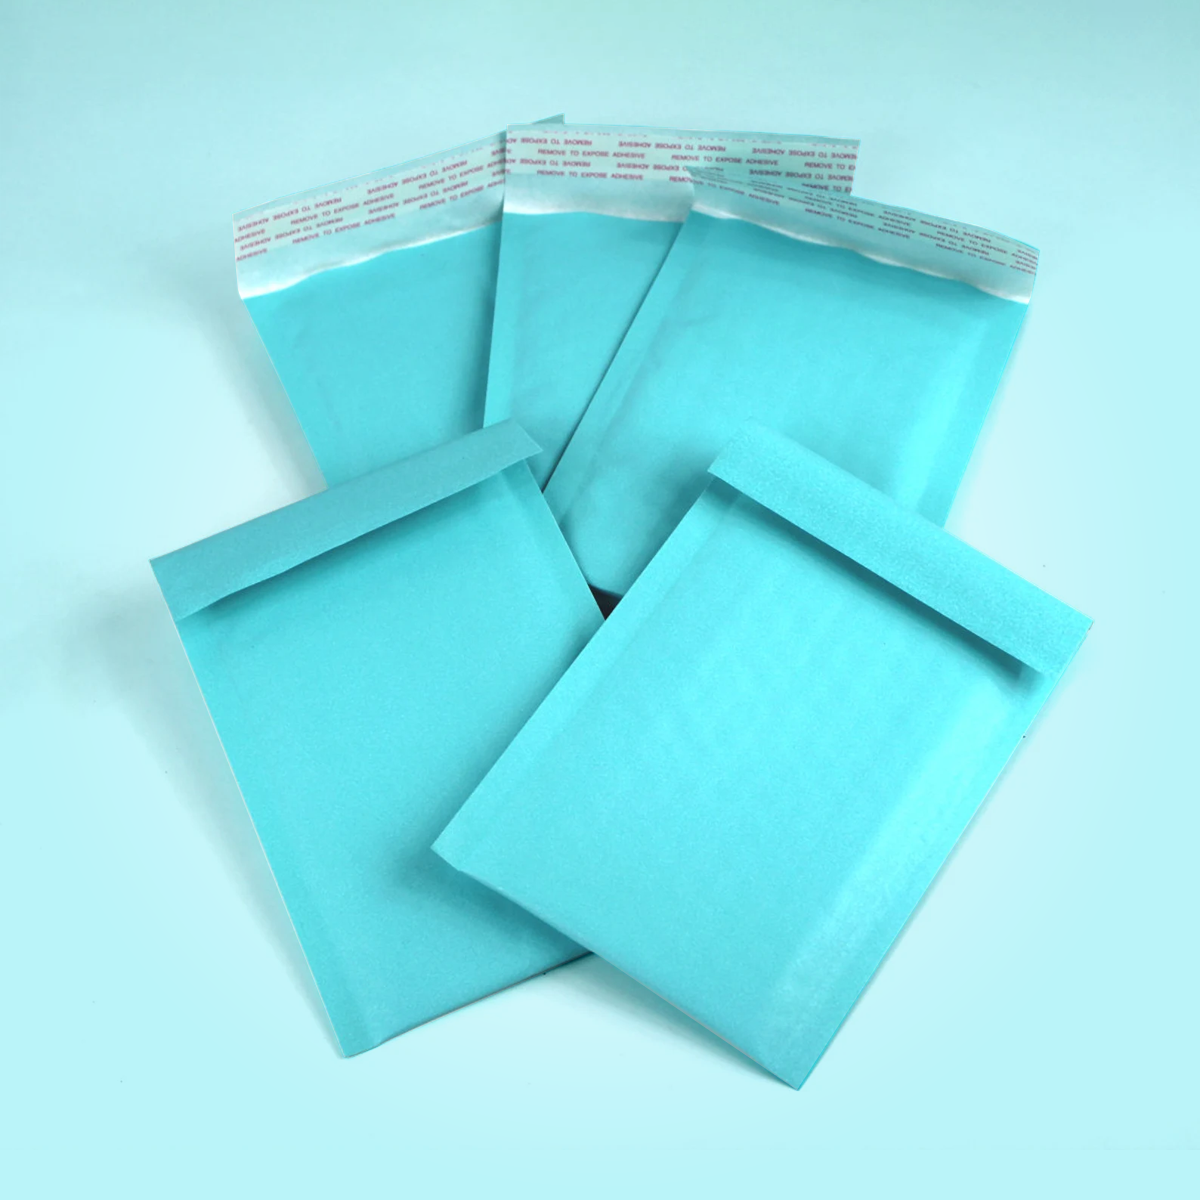
The right bubble mailer size protects your product, keeps postage down, and makes packing faster. The wrong size means damage claims, wasted material, or paying to ship empty space. Padded mailers look simple, but the size you standardise on ripples through your whole operation - breakage rates, carrier bills, packing speed, and how professional the parcel feels on the doorstep. Here is how to size a padded mailer correctly, whatever you ship.
Start from the item, not from a generic size chart. Measure the product at its widest and thickest points, then add a small allowance for the padded lining and a clean seal. A mailer that hugs the product too tightly puts stress on the seams and can split in the carrier's sorting machinery; one that leaves the item swimming lets it shift, rub, and arrive damaged. The goal is a snug fit with just enough room to close cleanly. Working from our full bubble mailer range makes it easier to compare formats side by side against the products you actually ship.
Shape matters as much as raw dimensions. Flat, rigid items such as books, phone cases, and framed prints suit a close-fitting mailer, while soft or irregular items like folded apparel need a little extra width so the mailer does not pucker at the seams when it is sealed. If you ship a mix of products, it is almost always better to standardise on two or three sizes that cover most of your orders than to stock a dozen near-identical formats that slow packers down and complicate reordering.
Common sizes and what they fit
Bubble mailer sizes are usually described by their internal usable dimensions - the space you actually have once the seal and padding are accounted for, not the outside measurement. A handful of formats cover the vast majority of eCommerce needs, from tiny accessories to folded apparel and mixed kits. Learning which size maps to which product type removes most of the guesswork.
Small (around 4x6 and 4x7): jewelry, cards, samples, small accessories, single cosmetics.
Medium (7x9, 8.5x12): books, larger cosmetics, small apparel, electronics accessories, multi-item orders.
Large (10.5x15 and up): folded apparel, kits, documents, and mixed retail orders.
Test before you commit to a bulk run
If you are unsure between two sizes, order a small quantity of each and pack your real products before buying in volume. A five-minute test with your actual inventory tells you far more than any size chart, and it prevents the expensive mistake of committing to ten thousand mailers that turn out to be half an inch too small or noticeably too big. Pay attention to how the mailer seals with the product inside, whether the contents move when you shake it gently, and how quickly your team can pack one.
It also helps to think a season ahead. If you plan to add larger products or bundle items for promotions, choose a size range that has a little headroom rather than one that only fits today's smallest SKU. Locking your formats early - and testing them properly - is what lets you order confidently and negotiate better pricing on larger, repeatable runs.
Avoid the cost of oversizing
An oversized mailer feels like the safe choice, but it quietly costs money on every order. Extra space means you either add void fill to stop the product moving - more material and more packing time - or you accept a higher damage rate. It also raises dimensional-weight postage, where carriers charge based on the space a parcel occupies rather than its actual weight, so a light product in an oversized mailer can cost as much to ship as something far heavier.
Sizing to the product plus a small clearance is the single cheapest way to cut both damage and postage across a shipping program. Once you have settled your sizes, the next decision is finish and branding. If you are standardising a packing program across many SKUs, our guide to kraft vs white bubble mailers helps you lock the look once the dimensions are right.
Frequently asked questions
For small items like jewelry, cards, and samples, a 4x6 or 4x7 mailer is usually ideal. Measure the item at its widest and thickest points and add a small allowance for the padded lining and a clean seal.
No. An oversized mailer lets the product move in transit, which increases damage, and it raises dimensional-weight postage costs. Size to the product plus a small clearance rather than reaching for the largest mailer you have.
Leave just enough room to close and seal the mailer cleanly - typically a small allowance beyond the product's widest and thickest points. Too little and the seams strain in transit; too much and the item shifts while you pay for empty space.
Most businesses are best served by two or three sizes that cover the majority of their orders rather than a dozen near-identical formats. Standardising sizes speeds up packing, simplifies reordering, and still fits most products well.
Bubble mailer sizes are usually quoted as internal usable dimensions - the space available for your product after the seal and padding. Always check the usable size rather than the outer size when matching a mailer to an item.
Bubble mailers protect against scuffs, moisture, and light impacts, which suits most non-breakable goods. For genuinely fragile items like glass or ceramics, add internal cushioning or choose a rigid box, since the padded lining alone is not designed for heavy impact protection.
Compare kraft and white bubble mailers on look, branding, and cost so you can choose the padded mailer that fits your product, your brand, and your budget.
How custom printed bubble mailers turn shipping into a branded moment - what you can customise, when it is worth it, and how to get started on a bulk program.